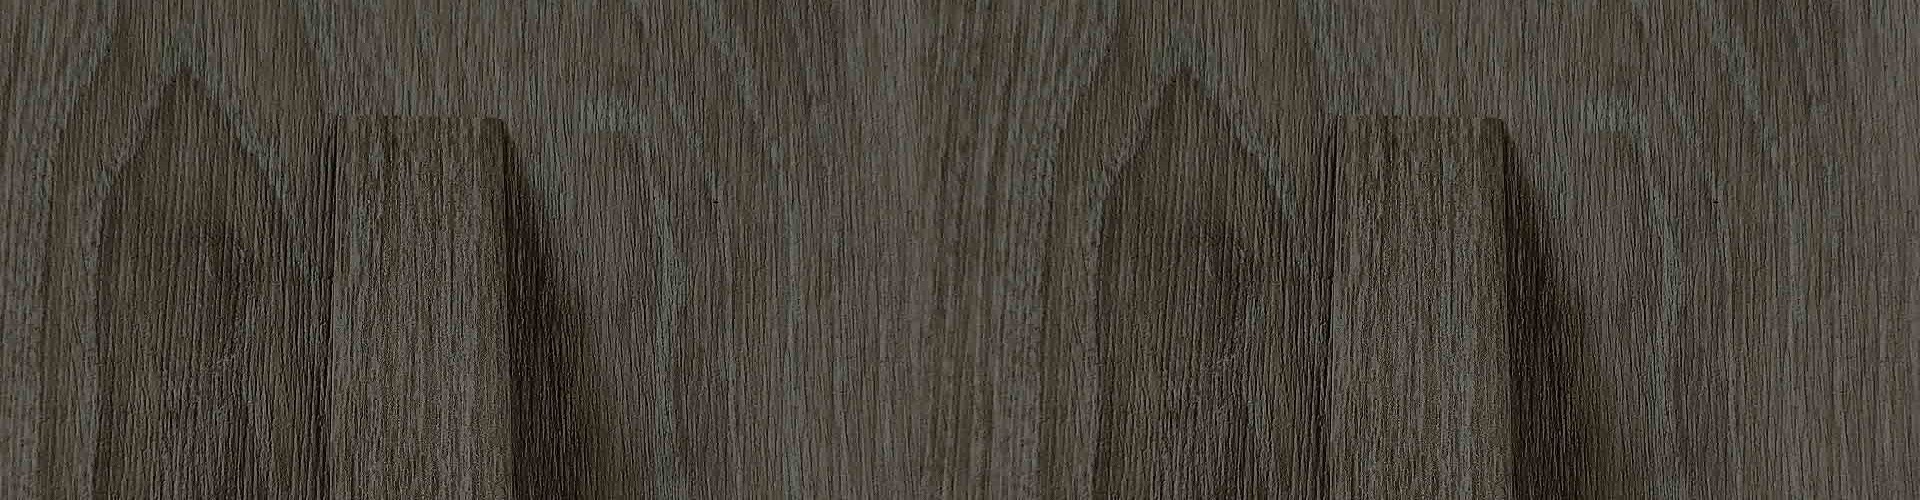
Kitchen cabinet edge banding plays a key role in kitchen decoration. It not only provides a beautiful appearance for kitchen cabinets, but also effectively protects the edge of the board. However, due to prolonged use or accidental damage, edge banding may need repair or replacement. This article will take an in-depth look at the steps and techniques for repairing and replacing kitchen cabinet edge tape.
1. Check for damage
Before you begin repairing or replacing the edge banding, first carefully inspect the extent of the damage. Possible damage includes tears, abrasions, deformation or detachment. A thorough assessment of the damage will help determine next steps.
2. Prepare tools and materials
Performing repairs or replacing edge banding requires some basic tools and materials, such as:
hot melt glue gun
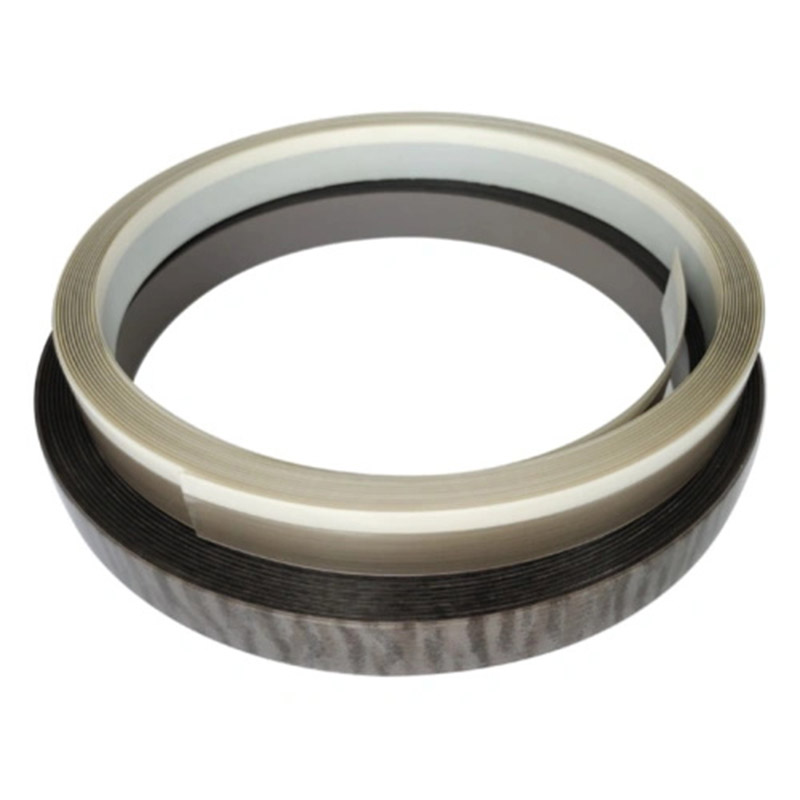
Edge banding
Scissors
polymer glue
detergent
sandpaper
Make sure you have all the necessary tools and materials ready before starting work to avoid interruptions.
3. Repair edge banding
a. Wear and tear
Use sandpaper to lightly smooth out the frayed areas so that the edge banding can adhere better.
If there are tears, use scissors to trim the torn edges to make them even.
Wipe the repaired area with detergent to make sure the surface is clean.
b. fall off
For the edge banding that has come off, use a hot melt glue gun to evenly apply hot melt glue on the edge.
Press the edge tape into place to ensure a neat fit.
Use a wood block or hold-down tool to ensure the edge banding adheres tightly to the board.
4. Replace the edge banding tape
a. Remove old edge banding
Use a hot glue gun to heat up the old edging tape so it becomes soft and easy to remove.
Use a scraper or razor blade to carefully peel the old edging tape away from the edges.
b. Clean the surface
Clean the edges of the board to make sure the surface is smooth and clean.
Use cleaner to remove any remaining glue or dirt.
c. Install new edge banding
Measure and cut the new edge tape to the appropriate length.
Use a hot glue gun to evenly apply hot glue to the edges of the board.
Press the new edge tape into place to ensure a neat fit.
Use a hold-down tool to ensure the edge banding adheres tightly.
Through a careful repair and replacement process, you can effectively extend the life of your kitchen cabinet edge tape, keeping your kitchen looking beautiful and functional. Regular inspections and prompt treatment of damage will help avoid bigger problems and ensure your kitchen always looks like new.